Now that you are a proud owner of your very own set of Jolimoo Hair extensions, it is important to care for them properly to ensure they remain looking luscious, smooth, and shiny. If given the proper TLC they deserve, Jolimoos can last anywhere from 3-6 months, or even up to a year or longer!
Jolimoo Hair extensions are made with 100% remy human hair, however, since they don't receive natural oils from the scalp like our own hair does, they don't need to be washed as often as your own hair. As a general rule, the less you wash your extensions the longer they will last. You can use your best judgment on how often to wash them, however, we recommend only washing them once there is a lot of product build-up.
If your extensions feel like they’re becoming increasingly difficult to style, this is likely a sign that there is product build-up and they need to be washed. We recommend washing them after every 30 wears or once a month. For full instructions on how to wash to properly wash your Jolimoos, scroll down for step by step instructions.
In this blog post, we'll give you the rundown on how to get your extensions squeaky clean, as well as how to restore moisture and shine. Remember, the less you wash your extensions, the longer they'll last. Keep scrolling down for a step-by-step guide.
Step 1: Brush your extensions
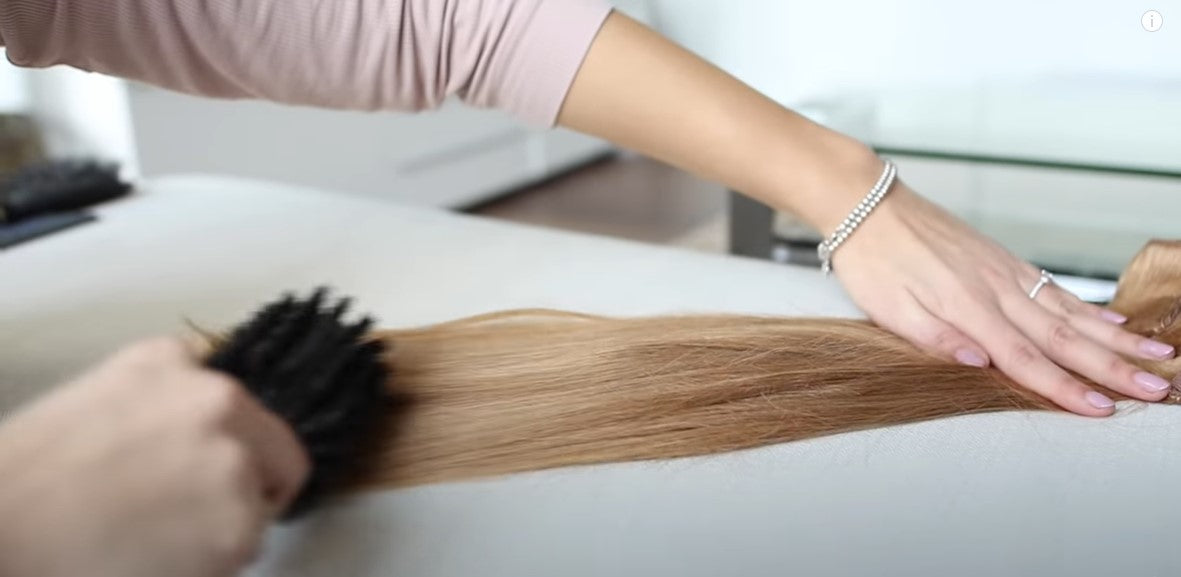
The first and quite possibly one of the most important steps is to brush your extensions out before getting them wet. This helps minimize the possibility of tangling during and after you have washed the hair. When brushing your extensions, we recommend starting from bottom to top in order to gently remove any tough knots without pulling the hair out. We recommend using a wide-tooth comb or a soft bristle brush when working on your hair extensions.
Using a loop brush specifically for hair extensions is the best way to comb them out without causing any damage. The looped bristle design prevents hair from being pulled or snagged on the comb. Reducing the amount of fallout when brushing.
In preparation for the wash, neatly place your wefts on top of each other in a bundle, similar to the same way as when you first received them. This will help ensure the hair does not tangle with the clips during the washing process.
Step 2: Prepare your sink
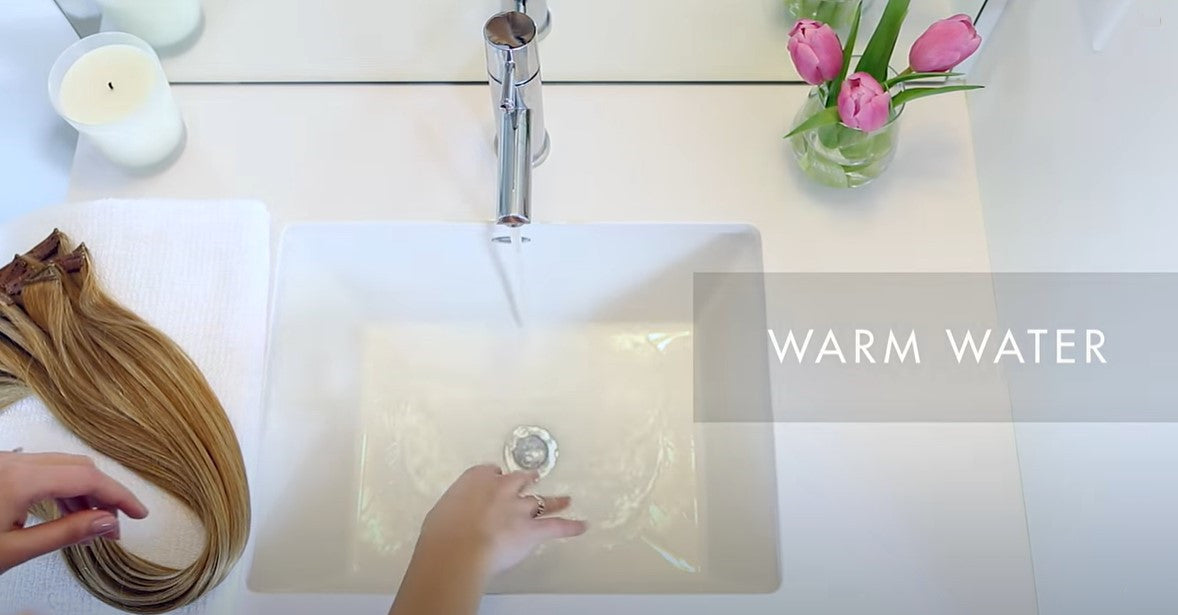
Ensure your sink is squeaky clean, plug the drain and begin to fill it up with lukewarm water - we don’t want the water to be too hot or too cold.
Squirt about 2-3 pumps or a small handful of shampoo in to the water and wave the water around to ensure the product is evenly dispersed. When working with your extensions, we recommend to use hair products that are alcohol free, sulfate free, and designed for coloured treated hair or extensions in order to ensure the color is preserved.
Step 3: Shampoo each weft
We highly recommend applying a moisturizing sulfate-free and alcohol-free conditioner before and after shampooing. Sometimes, even skip the shampoo and only co-wash your extensions with conditioner!
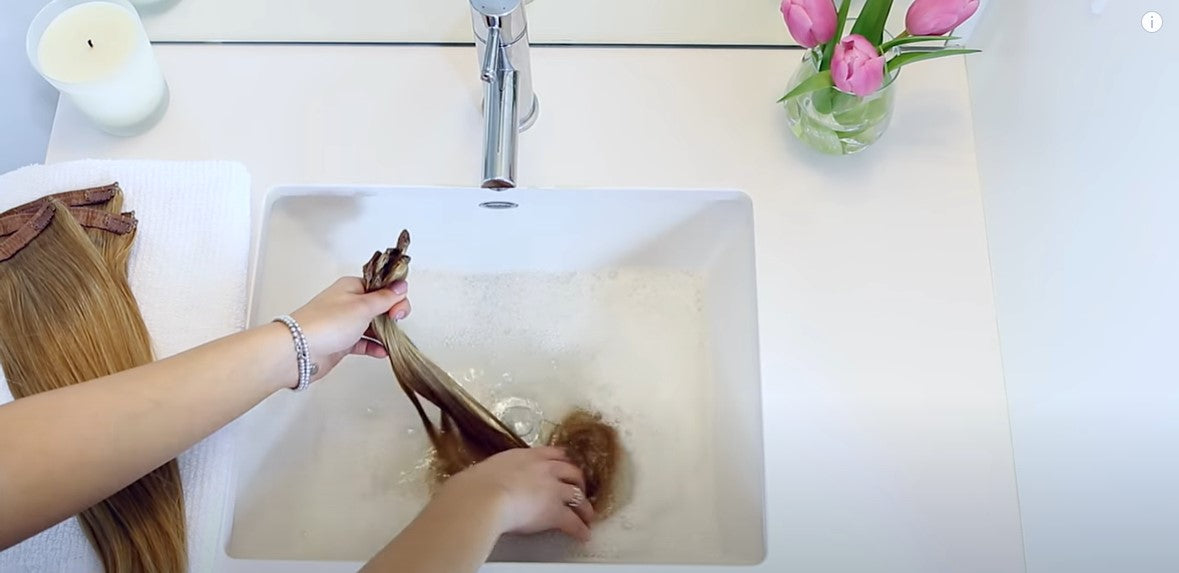
When washing your extensions with shampoo, wash one weft at a time, to prevent tangling and to ensure each weft is washed thoroughly. If you are short on time, you can bundle the extensions with an elastic and wash them carefully in one shot.
If you are washing blonde hair, it’s a good idea to use purple shampoo to help brighten and maintain your color. While a purple-colored shampoo might sound a little weird, the pigment actually keeps brassiness at bay and neutralizes yellow tones, giving it that fresh from the salon look.
To start the washing process, hold the weft in one hand at the top, submerge it into the water, and gently wash the hair, working the shampoo in with light strokes. When washing, make sure to handle the extensions gently and avoid rubbing them vigorously as you might with your natural hair. Rinse thoroughly after 3-5 minutes. Once you have washed the weft with shampoo, set it aside neatly on a towel and repeat the same steps for the rest of the wefts.
Step 4: Condition each weft

Once all the wefts have been shampooed, it's time to condition them. Take a generous amount of conditioner and apply onto each weft from top to bottom, massaging the product thoroughly into the hair. Leave on for 5-10 minutes, then rinse out each weft thoroughly. As a general rule, the longer you leave it on the better.
Step 5: Apply a deep conditioner or hair mask
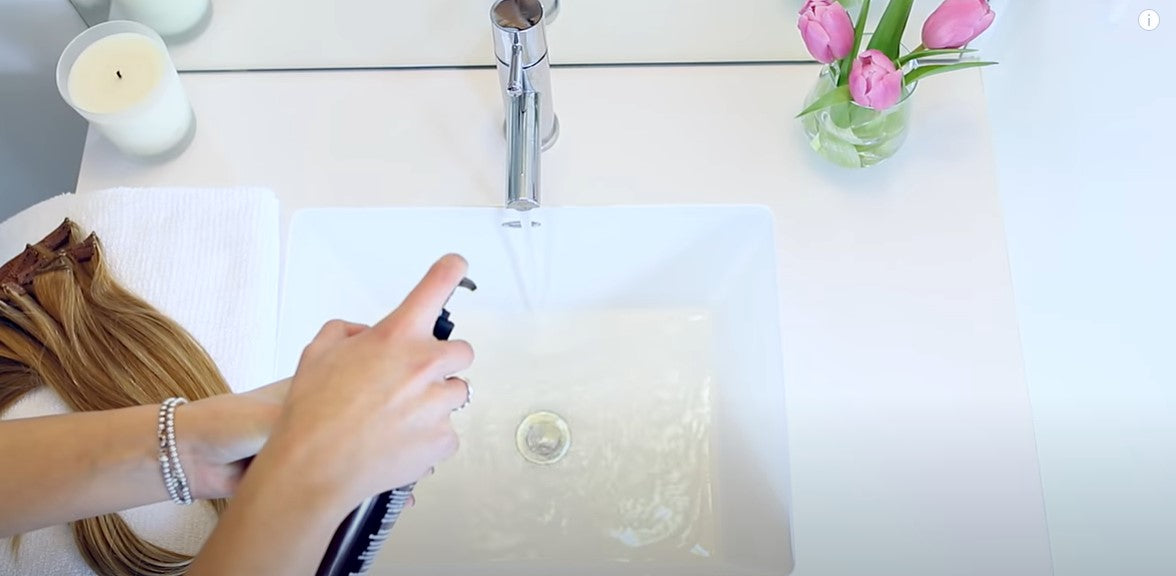
This step is crucial to ensure that your hair extensions remain soft, and moisturized. Just like with your conditioner, take a good amount of the hair mask in your hand and work the product into each weft from top to bottom. In order for the product to really soak in and work its magic, bundle your extensions and carefully coil them and place them in a shower cap to leave overnight. This will help to seal in the moisture throughout the night.
Step 6: Rinse out each weft
The next morning, thoroughly rinse out each weft, ensuring that there is no conditioner residue left on the hair. A common mistake is to only wash the hair halfway, leaving it with "the slip"–that slippery, soft feeling after conditioning. This is a no-no, as it actually leaves product on the hair, which can weigh it down and causes it to look greasy when dry.
When washing out each weft, rinse it again with cold water, which will help close the cuticles of the hair to seal in the moisture and make the extensions shinier.
Step 7: Air dry your extensions
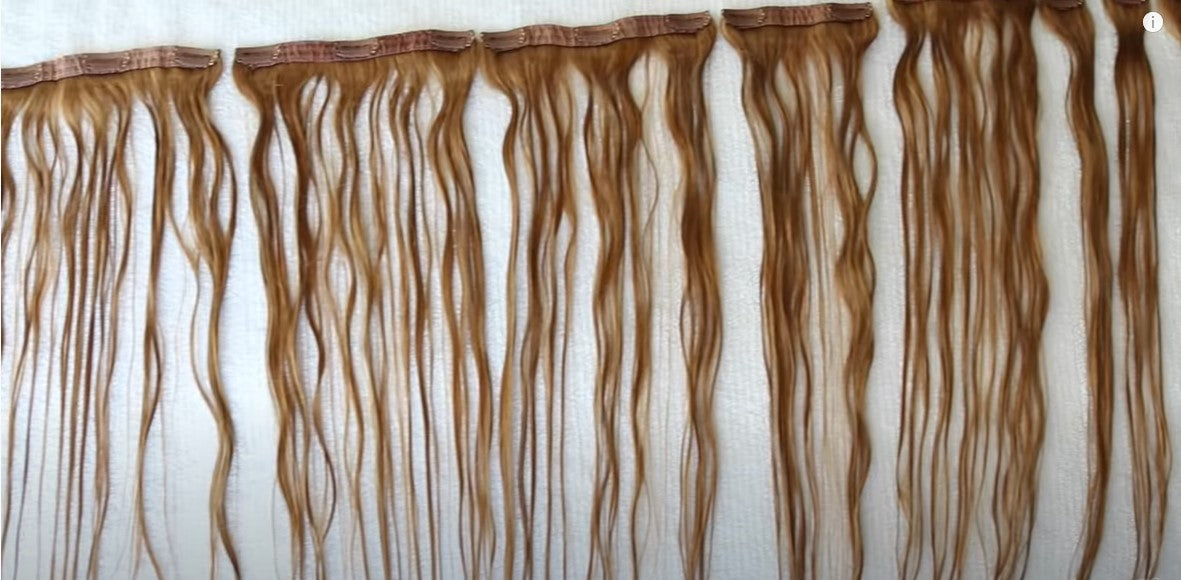
First, carefully squeeze any excess water from the extensions and make sure that you never rub your extensions dry with a towel, since it can lead to extreme damage and breakage. We highly recommend air-drying your extensions whenever possible. When air drying, be sure to invest in a micro-fibre towel as it will remove excess water faster and it won’t rough up the hair (which can also cause tangles).
Lay out all of the wefts on a flat surface and gently pat the excess moisture from the hair. A trick to preventing any frizz once the hair dries is to apply a small amount of hair oil to each weft to ensure the hair remains manageable and silky smooth.
If you must blow-dry your extensions, be sure to use a heat protectant spray prior to blow-drying. This will extend the natural lifespan of your hair extensions.
The most important thing is to ensure that you are blow drying on a cool setting to prevent any heat damage and that you don’t brush the hair until it is at least 90% dry. When blow-drying, start by focusing on drying the root of the weft first and then working your way down to the ends. Always blow-dry downwards as this will help to not only smooth the cuticle but it will also prevent the hair from getting tangled since it is being blown in lots of different directions.
Step 8: Comb each weft
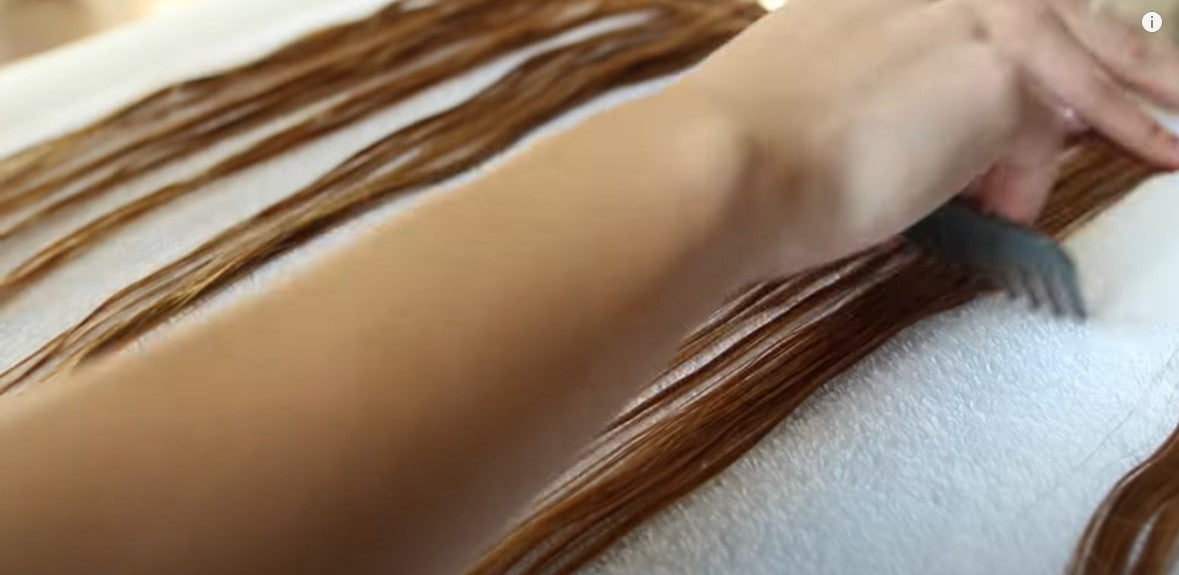
Combing wet hair is usually not recommended as this is when the hair is at its most fragile state, however, in order to ensure that your extensions dry straight, you can make an exception. Gently brush through each weft with a wide tooth comb from bottom to top.
Leave the wefts to dry, and come back to clean smooth, hair extensions, ready to clip into your hair.
FAQ About Washing Hair Extensions
Q: How often should I wash my clip-in hair extensions?
A: As a general rule, the less you wash your extensions the longer they will last. You can use your best judgment on how often to wash them, however, we recommend only washing them once there is a lot of product build-up.
If your extensions feel like they’re becoming increasingly difficult to style, this is likely a sign that there is product build-up and they need to be washed. We recommend washing them after every 30 wears or once a month.
Q: Do I need to wash my Jolimoo Hair extensions before I wear them?
A: No, Jolimoo Hair extensions are ready to wear straight out of the box! You do not need to wash them before wearing. Hair extensions are a hygienic product and therefore is completely safe to wear right out of the box.
Q: What products should I use on my clip-in Jolimoo Hair extensions?
A: Keeping your extensions moisturized and nourished is crucial, considering they don’t have a natural hydration source like our own hair does. The proper hair products make all the difference in whether your extensions will tangle or be soft and manageable.
Purchase products specifically formulated for dry and damaged hair, as they will help keep the strands healthy and nourished. Also, look for ingredients that add moisture to the hair-like argan oil, coconut oil, and castor oil.
Q: Why alcohol/sulfate-free shampoo and conditioner?
A: Purchasing sulfate-free and alcohol-free products is a necessity as they are imperative to maintain the health of your extensions. These ingredients strip the hair of its natural oils and will affect their integrity. This, in turn, makes the hair drier and more prone to tangling or matting.
Be sure to check the ingredient listing and ensure you don’t see the words: SLS, Sodium Lauryl Sulfate, Sodium Laureth Sulfate, Alcohol Denat, Ethanol, SD Alcohol 40, Propanol, Isopropyl, and Propyl.
Q: Do I need to wash my extensions after curling to make them straight again?
A: No, unless the extensions have a lot of product buildup (like hairspray), this is not needed. Instead, you can gently brush out the curls with a soft bristle brush from bottom to top, and use a hair straightener to straighten the extensions. Be sure to use a heat protectant spray prior to straightening, and to use a low to medium heat setting.
Keep in mind, using sticky products such as hairspray, hair gel, or hair wax, can and likely will clog up your extensions. The more products you use, the more you will need to wash your extensions, leading to dry, tangled extensions. Also, keep in mind that any products that you use on your natural hair can transfer onto your extensions.
Q: Do these hair extensions dry straight?
A: Jolimoo Hair extensions are of Chinese origin, therefore, should dry straight. Be sure to brush the extensions straight before air-drying overnight. Some sets could be potentially dry with a slight wave, however, can be styled with hot styling tools to achieve any desired look.
You can also air dry your extensions overnight (in a braid, for instance), and when you wake up and clip in your set, you will have gorgeous, beachy waves ready to go. Plus, you can also experiment with different curl patterns without having to buy an array of curling wands.

